
You found the outfit. Maybe it is sitting in your downloads folder right now, fresh from Booth, and the store page made it look effortless: here is the avatar, here is the outfit, here is the two of them together. Then you searched for how to add clothes to your VRChat avatar and discovered that between those two pictures live Unity projects, armatures, and forum threads written by people as confused as you.
This guide is the whole story in one place: what makes an outfit fit in the first place, what the standard Unity route involves, how the same job looks in Layman’s Avatar Studio (clicks), how to make outfits toggleable in-game, and how to fix the classic failures, the T-posing outfit included. Whichever route you take, you will know what is actually happening.
What you need before you start
Three things, and the third is the one people miss:
- Your avatar’s files. Not just the avatar in-game: the actual base you own, the package you bought or downloaded. If you are still shopping, our Booth buying guide covers finding a good base.
- A PC. The manual route needs one that runs Unity. The LAS route needs Windows.
- An outfit made for your base. This is the big one. Outfits are made to fit a specific body, and the product page lists which. An outfit for a different base will not simply stretch to fit yours, for reasons the next section makes obvious. Check the supported-avatars list before you pay. It is the single best purchase habit in this hobby.
If your search was really “how do I get an avatar at all without Unity,” start with our complete guide to that question and come back when you are dressed… in a base, at least.
Why outfits fit (or don’t): 30 seconds of theory
Your avatar has a skeleton: a hierarchy of invisible bones that the visible body follows. An outfit has a matching skeleton of its own. Dressing an avatar means attaching the outfit’s bones to the body’s bones so that when your arm moves, the sleeve moves with it. That is the entire trick.
It also explains everything that can go wrong. An outfit made for your base has bones that line up perfectly, so attachment is mechanical. An outfit made for a different body has bones in different places over different proportions, which is why it either floats, clips, or T-poses. And an outfit that never gets attached at all just hangs in space in its default pose while your avatar walks away from it. Keep this picture in mind, because the fixes section leans on it.
One practical corollary: you can read compatibility off a store listing before buying. The supported-avatars list is the contract. “Modular Avatar compatible” or an included setup prefab means the attachment step is automated, while a listing that only ships loose meshes means someone, or some software, has more work to do. The Booth guide goes deeper on reading listings, licenses included.
The standard way: Unity plus Modular Avatar
The route every tutorial teaches, compressed honestly. You set up Unity and VRChat’s Creator Companion, import your avatar and the outfit, and add the tools the outfit expects, almost always Modular Avatar, the community-standard tool that does the actual bone-attaching. You drop the outfit’s prefab onto your avatar, run its setup (for Modular Avatar outfits, the famous right-click, then Setup Outfit), and the skeletons merge. Then the finishing work: hide the base’s original clothes so they do not poke through, adjust the body blendshapes the outfit expects, fix clipping, and upload through the SDK.
None of this is unreasonable, and thousands of people do it every week. It is simply a professional pipeline with a learning curve, and the first outfit costs an afternoon that later outfits do not. If you want the full picture of what each step involves before committing, our no-Unity guide’s manual-path section walks it step by step.
Where first-timers get stuck
The failure stories in support threads are impressively consistent. Missing-script errors on import, because the outfit assumed Modular Avatar and it is not in the project. The outfit frozen in a T-pose midair, because the skeletons never merged. The avatar’s body vanishing when the outfit goes on, because an included animation shrank the body to prevent clipping and nobody said so. Old and new outfits layered on top of each other, because hiding the originals is a separate manual step. Every one of these is survivable, and every one of these is the pipeline asking the human to know something the software could have known. Hold that thought.
The LAS way: import, wear, done
Same job, run by software. Here is the whole flow with real captures.
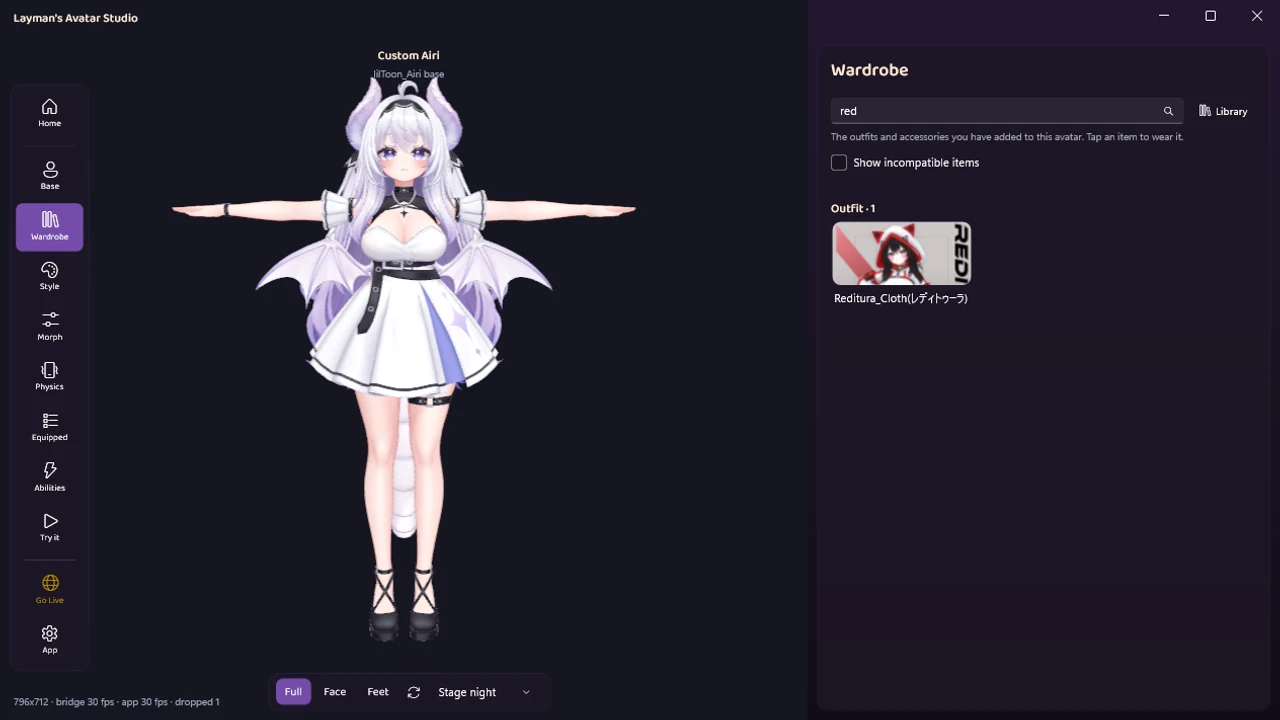
1. Import what you bought
Drop the outfit’s files into LAS. Import unpacks the archive (including the Japanese-encoded zips that garble on Windows), works out what is inside, and files it in your avatar’s Wardrobe. No project setup, no dependency shopping: the tooling an outfit needs is wired up for you.
2. Click it to wear it
That is the step. Click the outfit in the Wardrobe and the avatar in the live viewport is wearing it, bones attached. Under the hood this is the same respected Modular Avatar and VRCFury machinery from the manual route, wired correctly every time, so whatever the outfit’s creator set up, like a body shrink under the clothes, works the way they built it. It is non-destructive: your purchased files are never modified, and clicking the outfit again takes it off.
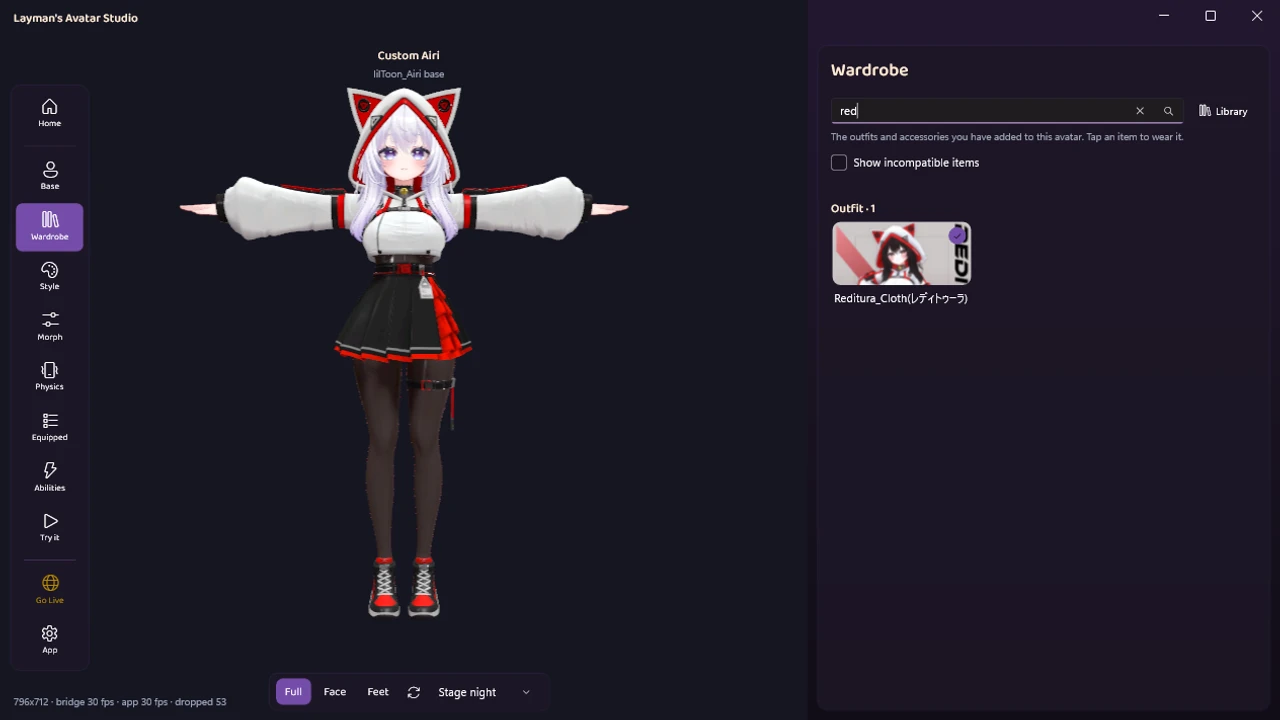
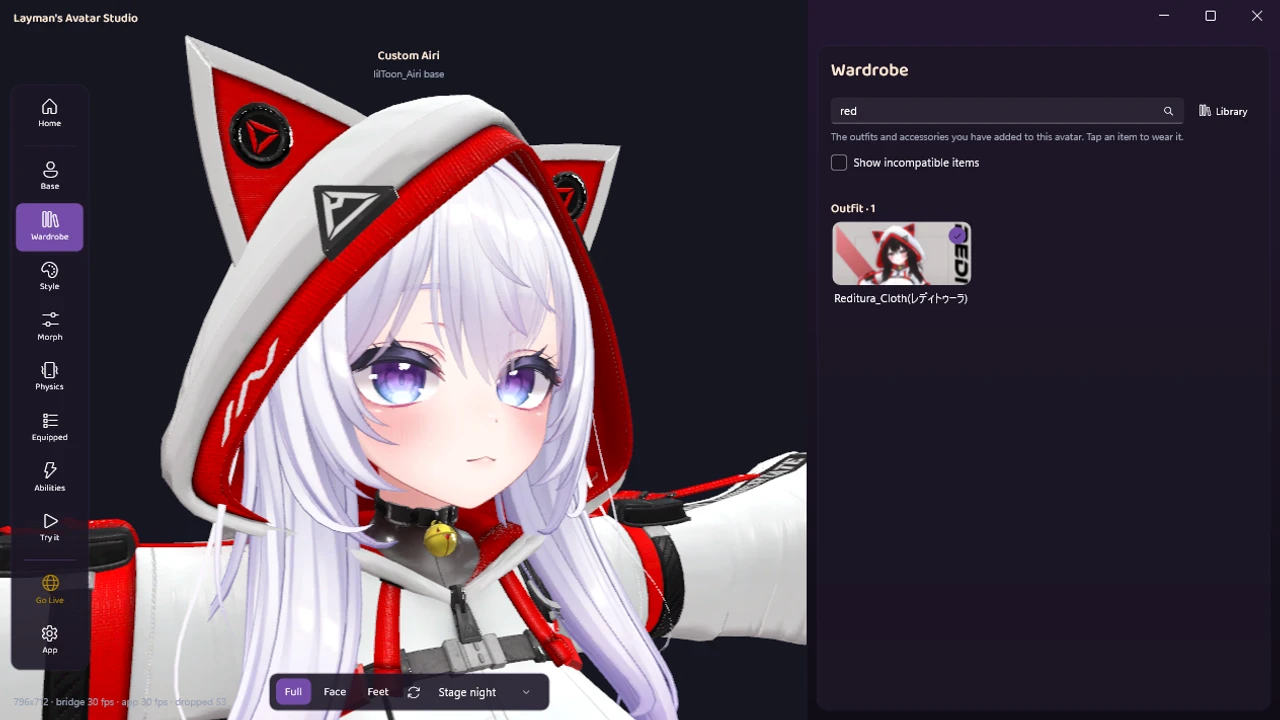
Everything you see stays editable, too: recolor any part of the new outfit with a color wheel, adjust morphs, keep clicking.
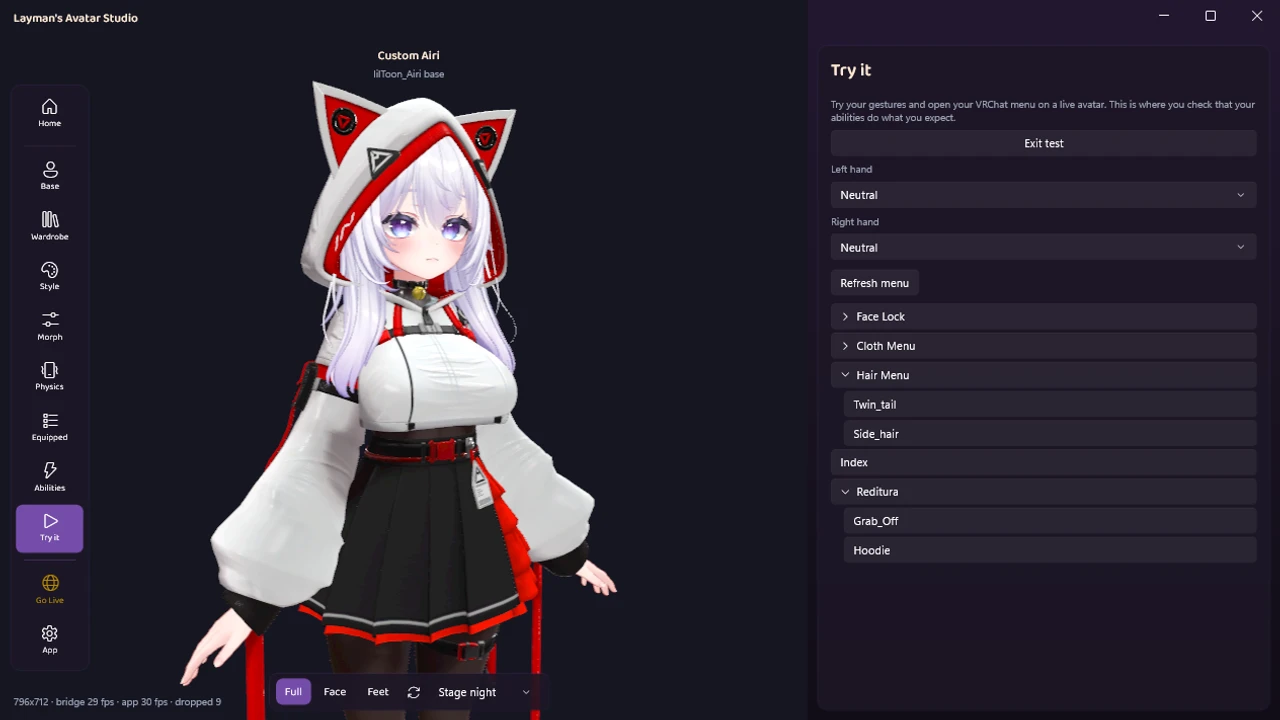
3. Check it like you are in-game
Try it runs your avatar live, gestures, physics, and menus included, so you can confirm everything moves and toggles before anything is uploaded, rather than after.
4. Go live
One click sends the avatar through the official VRChat SDK from your own account, with the same rights certification VRChat asks of every uploader. Then it is simply yours, in-world.
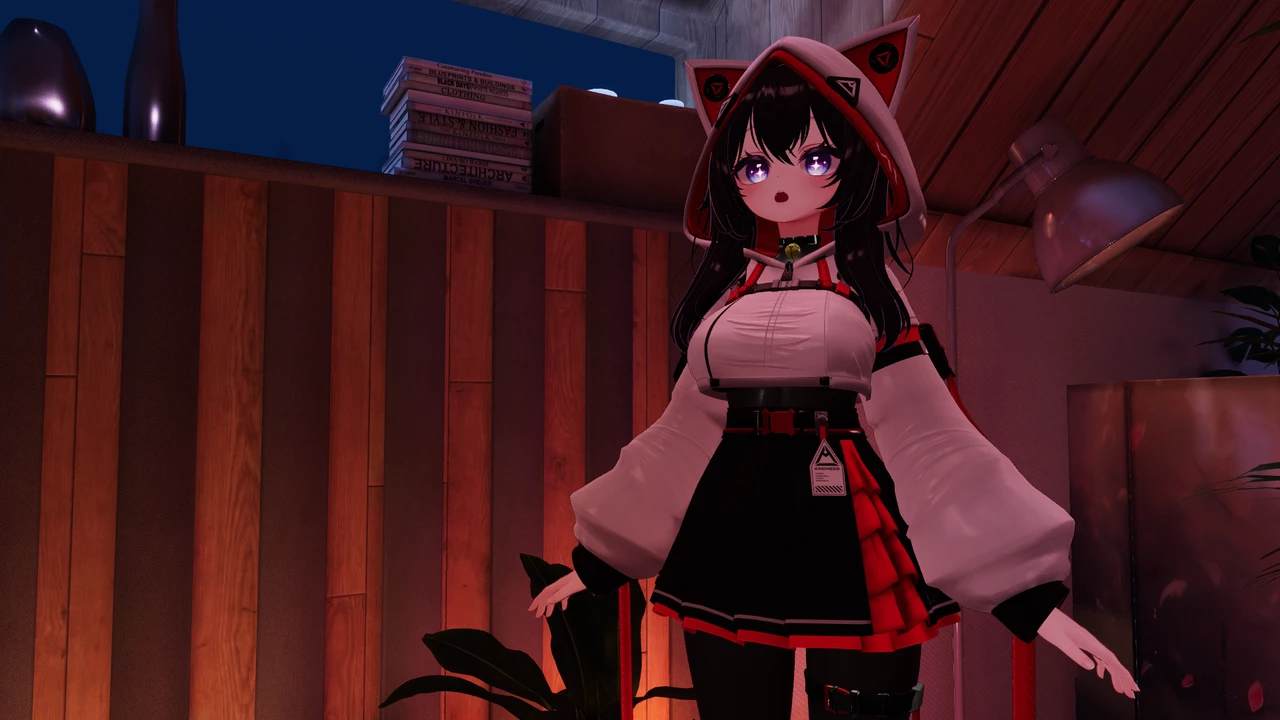
The honest print: LAS is available now, Windows-only, and outfits still need to be made for your base. No tool honestly waves that away. The homepage tour shows the flow in motion if you want more than stills.
Make it a toggle: switch outfits in-game
The natural next wish: not one outfit forever, but a closet you can open from VRChat’s action menu. Switching in-game happens through your avatar’s expressions menu (R on desktop, the radial menu in VR), but only if the avatar was built with those toggles.
On the manual route, that means creating animations and menu entries, or using VRCFury’s toggle components, and doing it per item. In LAS the job is split between two panels. The Abilities panel is where a toggle is made: it can show or hide a whole outfit or single pieces, and each toggle becomes an entry in the avatar’s menu. The Equipped panel works part by part: any piece of any outfit, the base’s original clothes included, can be switched to Removed to leave it out of uploads (the body’s own shoes under a pair of boots, say), and its eye button chooses whether it starts shown or hidden. Removing what you never wear is also how you keep the avatar lean instead of shipping every outfit ever.
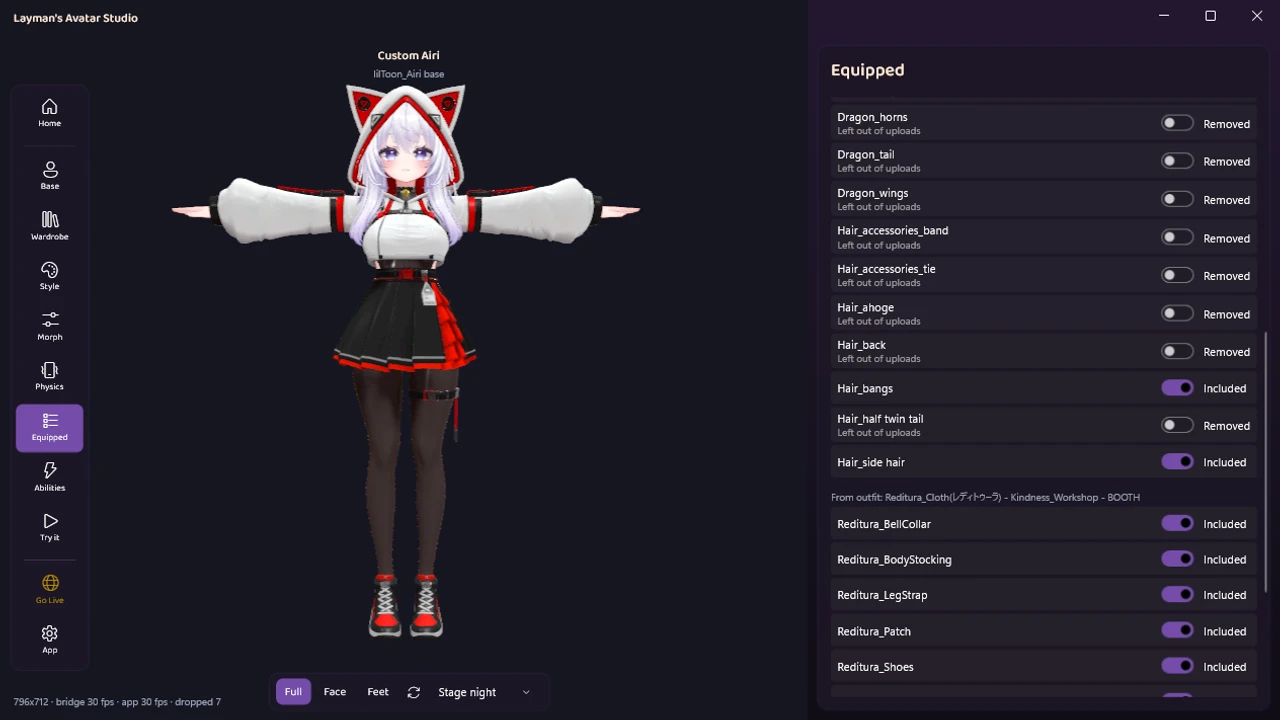
Worth answering the question people actually argue about in forums: should you build one avatar with a whole toggleable closet, or upload a separate avatar per look? Both are legitimate. One avatar with toggles means switching outfits mid-conversation without a loading screen, at the cost of a heavier avatar. Every toggle also spends a slice of the avatar’s expression memory, which is a hard budget (256 bits) that fancy avatars genuinely run into. Separate uploads keep each avatar lean, at the cost of maintaining several and a re-load every switch. A sane default: toggle the outfits you actually rotate between, upload separately for full costume changes. LAS shows the expression memory in use before upload, so the budget stops being a surprise.
The editor-focused overview covers what else lives at this layer: toggles are one of several things LAS wires into the menu for you.
When something looks wrong: the classic failures
Straight from the support threads, with causes and cures. On the manual route these are yours to fix. The LAS notes are short because LAS does the attaching and the wiring for you.
The outfit floats in a T-pose while your avatar moves
The skeletons never merged: the outfit is in the scene but not attached to the body. Manual fix: make sure Modular Avatar is actually installed, the outfit prefab is on the avatar (not next to it), and its setup was run. If the outfit has no automated setup at all, each bone must be re-parented by hand, which is exactly the tedium the tooling exists to remove. If only part of it stays behind, like the shoes or everything below the knees, why an outfit does not follow the body, and every repair walks through each case.
Your avatar’s body disappears or pokes through
Bodies and outfits overlap, so creators use shrink blendshapes to pull the body in under the clothes. Vanishing body: a shrink blendshape went too far, or the outfit’s included animation set it without telling you. Poking through: not far enough. Manual fix: find the body mesh’s blendshapes in the inspector and adjust. In LAS the outfit’s own shrink setup, usually a Modular Avatar Shape Changer, runs the way its creator built it, and you see the result on the live viewport. When you hide a piece or take the outfit off, LAS relaxes the body blendshapes that piece was pairing with (“Automatically adjust blendshapes” in the Equipped panel), so the body does not stay shrunk under clothes that are gone.
Missing-script errors when importing the outfit
The outfit assumed a tool, usually Modular Avatar, that is not in your project. Manual fix: install it via the Creator Companion and re-import the outfit package. This error looks scary and means almost nothing. It is the pipeline’s way of saying a dependency is absent.
Old and new clothes are layered on top of each other
Wearing an outfit does not automatically undress the previous one on the manual route. Hiding the base’s original clothes is your job, usually via each mesh’s visibility or the EditorOnly tag so they stay out of uploads. LAS layers outfits too, on purpose, so trying things on stays quick: click the old outfit again to take it off, and switch the base’s own clothes to Removed in the Equipped panel. Removed does the EditorOnly job for you: the part neither shows nor ships.
The extracted files have garbled names, and Unity says assets are missing
Japanese creators zip with Japanese filenames, and Windows tools that assume the wrong text encoding extract them as mojibake gibberish. It looks cosmetic, but the outfit’s internal references point at the original names, so the import quietly breaks. Manual fix: re-extract with a tool that handles the encoding (code page 932), before importing. LAS’s import reads the archive’s encoding correctly in the first place, which is one of those invisible Booth-buyer problems you only hear about after it eats an evening.
The outfit shows up pink
Pink is Unity’s color for “the material’s shader is missing,” and it means the outfit expects a shader (commonly lilToon) that is not in the project. It is a rendering problem, not a color problem: manual fix is installing the shader the store page names and re-importing. In LAS, shader dependencies ride along with the import.
Outfit made for a different base?
The honest section. If the outfit says it is for a different avatar, the problem is not wiring but geometry: the clothes are shaped for a different body, so this is never the same one-click job as a compatible outfit, in LAS or anywhere else. It is not hopeless either. The community has built auto-fitting tools for exactly this gap, MochiFitter being the one you will hear about most, which reshape the outfit’s mesh to the target body, and they have gotten genuinely impressive. Two honest caveats ride along: how well the result comes out depends on how far apart the two bodies are, and these are Unity editor tools, so they live on the manual route.
Your realistic options, roughly in order of effort: buy the version made for your base if one exists (many popular outfits ship variants), pick from the outfits actually made for your base (part of why choosing a well-supported base matters so much), try an auto-fit tool if you are already comfortable in Unity, commission a refit from an artist, or learn mesh editing in Blender, which is a genuine skill and a different hobby. Whichever you pick, plan to look the result over closely: even the best automatic fit deserves a once-over at the wrists, chest, and shoes.
Quick answers
How do I change clothes while I am in VRChat? Open your avatar’s action menu (R on desktop, hold the menu button in VR) and look for the clothing toggles, if the avatar has them. No menu entries means the avatar was uploaded without toggles, and no in-game setting can add them. That happens at build time.
Do I have to re-upload after every change? Yes. Outfits, colors, and toggles are baked in when the avatar is built, so each change ships as a new upload replacing the old one. That is thirty seconds when the pipeline is handled for you, and it is why a painful pipeline makes people stop customizing.
Can I mix pieces from different outfits? If they are made for the same base, yes: mixing a top from one set with a skirt from another is half the fun of kaihen culture. Manually you manage each piece’s visibility yourself. In LAS each piece has its own switch in the Equipped panel, and the Abilities panel can give any piece its own in-game toggle.
Can I add clothes without Unity at all? That is this article’s whole premise: yes, via a tool that runs the pipeline for you, and the full survey of Unity-free options covers the alternatives if LAS is not your fit.
Do this today
If your outfit is waiting in a downloads folder, you now know exactly what stands between it and your avatar, on every route. The manual pipeline is learnable, the community around it is generous, and if you enjoy tooling, it can even be fun. And if you would rather spend that afternoon wearing the outfit instead of installing its prerequisites, that is precisely the gap LAS closes: import, click, check, go live.
LAS is available now: download it free, see what the free plan covers on the pricing section, and bring your trickiest outfit questions to the Discord.