
There are two things people mean when they search for a hue shift slider for a VRChat avatar. One is a wheel in your VRChat menu that rotates your avatar’s colors while you are standing in a world. The other is simpler: “I want my eyes, or my hair, or my skin to be a different color, for good.” They are different jobs with very different amounts of work, and plenty of people searching for the first actually want the second. This guide covers both, written for someone who has never opened Unity.
If you want the map of every way to recolor an avatar first, changing your VRChat avatar’s colors is the prequel to this post.
Slider, or just a different color?
A slider is a control in your expression menu (the radial menu you open in game) that moves a color live while you play. Everyone around you sees it change. It is real animation work, and it costs some of your avatar’s limited menu memory.
A color is decided once, before you upload. It is baked into the avatar, everyone sees it, and it costs nothing in game.
Thirty seconds of honesty with yourself saves an evening: if what you want is green eyes, you do not need a slider. You need green eyes. If you want to switch between green, blue and violet during the evening, then a slider is exactly right. If words like material, texture and shader are new to you, the avatar glossary has them in a line each.
How an in-game hue slider really works
Four things have to line up, whichever guide you follow:
- A shader with a hue setting. The shader is the program that draws a material. Both of the popular avatar shaders, lilToon and Poiyomi, have a hue setting built in.
- An animation that moves that setting from one end of its range to the other.
- A number parameter saved in your avatar’s synced parameters, so other players receive the value you pick.
- A radial control in your expression menu that sets that number.
The two routes below build those four pieces in different ways. Both happen in Unity, and if the build stops afterwards, the errors people hit when uploading decodes the messages.
The short route: a material-property slider
This is the route most people should use. VRCFury, a free Unity tool most avatars already use, can build the whole chain from one component. Add its Toggle component to the mesh that carries the material, switch the toggle to a slider, add a Material Property action, and point it at the shader’s hue property. VRCFury creates the animation, the parameter and the menu entry when the avatar is built.
It is short, but it still assumes a Unity project with your avatar in it and VRCFury installed, which is the part making an avatar without Unity is about skipping.
The long route: clips, a blend tree and a radial puppet
For avatars or setups where the short route does not fit, you build the chain by hand. Record one animation clip with the hue at its minimum and another with it at its maximum. Add a float parameter. Put both clips in a blend tree driven by that parameter, in an animator layer. Then add a radial puppet to the expression menu that sets the parameter.
It works, and full step-by-step versions of it exist and are long. Watch for one trap: an animation clip finds its mesh by name and position in the avatar, so renaming or moving that mesh later makes the clip quietly stop working. This is also the point where people most often break a working avatar, which is why testing and undoing avatar changes has its own post.
The two settings that break every hue slider
If your slider moves and nothing on the avatar changes, it is almost always one of these two:
- Poiyomi’s material lock. Poiyomi locks materials for performance, and a locked material ignores animations unless the property was marked as animated before locking. Right-click the hue property, mark it as animated, and lock again. If several materials on one mesh need their own separate value, Poiyomi has a separate “renamed” option for that.
- lilToon’s four-part value. lilToon keeps hue, saturation, brightness and gamma together in one setting with four parts (shown as X, Y, Z and W). The hue is the first part. A slider that animates the whole value, or the wrong part, looks broken.
If you are using LAS and a color does not behave, LAS troubleshooting is the place to start.
What a slider costs you
Your avatar has a fixed amount of menu memory, 256 bits, shared by every synced switch and slider. A simple on/off switch costs 1 bit. A slider costs 8. Three sliders for red, green and blue cost 24. That is worth it for a color you genuinely want to change during a session, and expensive for a color you will set once and never touch again. Memory is one of several limits: the stats that decide your avatar’s rank are explained in getting an avatar out of Very Poor.
Changing the eye texture
This is the other half of the question, and in Japanese it is the whole question.
An eye texture is an image that draws the iris, and creators sell them on Booth for specific avatars. The settled route in Unity: find the material the eyes are on, and put the new image in that material’s main texture slot. If the texture came with a glow version, it goes in the emission slot. Eye textures are usually made for one avatar’s eye layout, so the product page will say which avatar it fits, the same way outfits do when buying avatars on Booth.
Two traps catch almost everyone:
- The original iris shows through. Some shaders layer a second texture over the first, and if the new eyes went into that second layer, the old iris is still drawn underneath. Put the new image in the main slot, not on top.
- A second copy of the face texture. On some avatars the eyes are painted into the face texture itself rather than on their own material. Then the “eye texture” is really a new face texture, and anything else using that material changes with it.
Some avatars also need a shape slider to hide the original pupil. The product page usually says so.
Skin, hair and the shared-material trap
A tint (a color multiplied over the existing texture) is the fast, reversible way to move skin or hair color. The catch is sharing: a face, a body and often the eyelashes can share one material, so tinting the skin moves things you did not mean to move. Near-white areas also barely shift under a hue change, because white has no hue to rotate.
The honest limit: matching a new skin tone across the body, face and hands is careful eyeballing, not a button. The same “it is one material underneath” logic explains a lot of outfit surprises too, like an outfit that does not follow the body.
Can you undo any of this?
In Unity, duplicate the material before you touch it. Changing a color in the material is reversible, but “baking” a color change down into a new texture file is a one-way door, so keep the original.
In LAS, every change is a named step you can step back through, the original files are never edited, and every setting has a reset. More on that below. When you want to see the change working before committing, Try it runs the avatar live.
Doing it without Unity, in LAS
Here is the same work in Layman’s Avatar Studio, on Velle Cosplay: first the “just a different color” route, then an in-game hue wheel, without opening Unity.
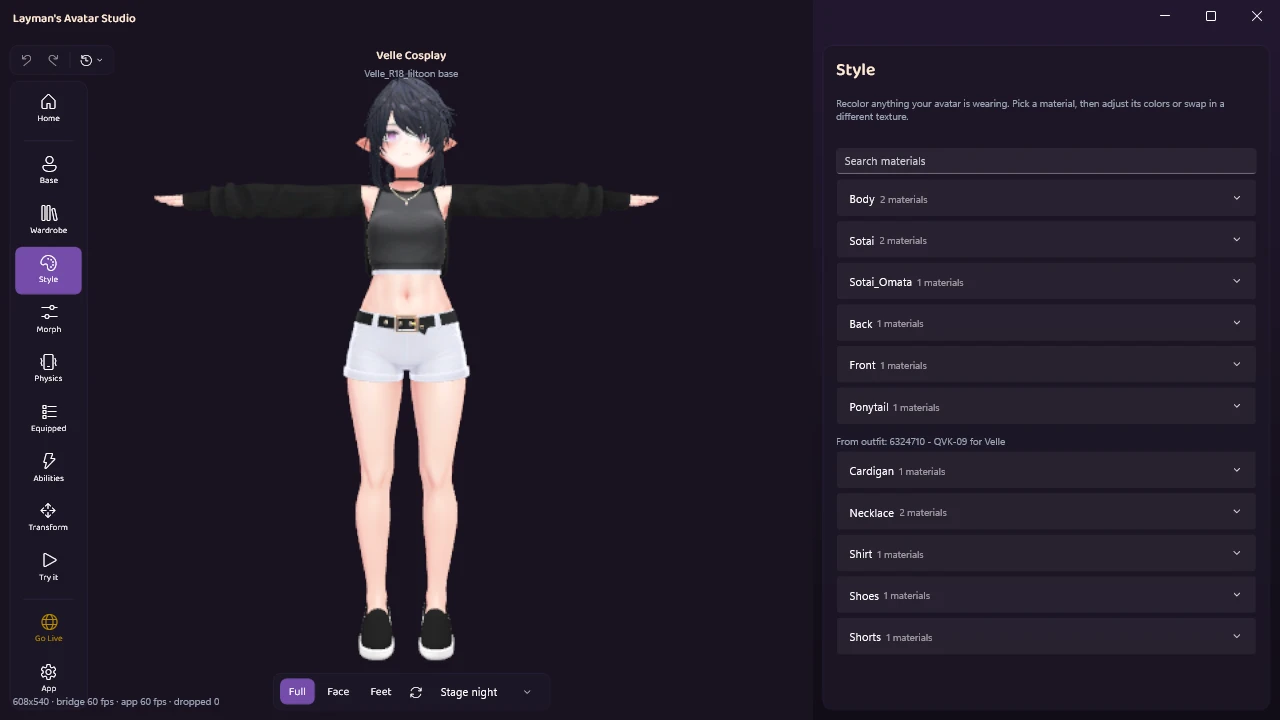
Find the part. Style lists every mesh your avatar is wearing, each with its materials, and Edit opens one.
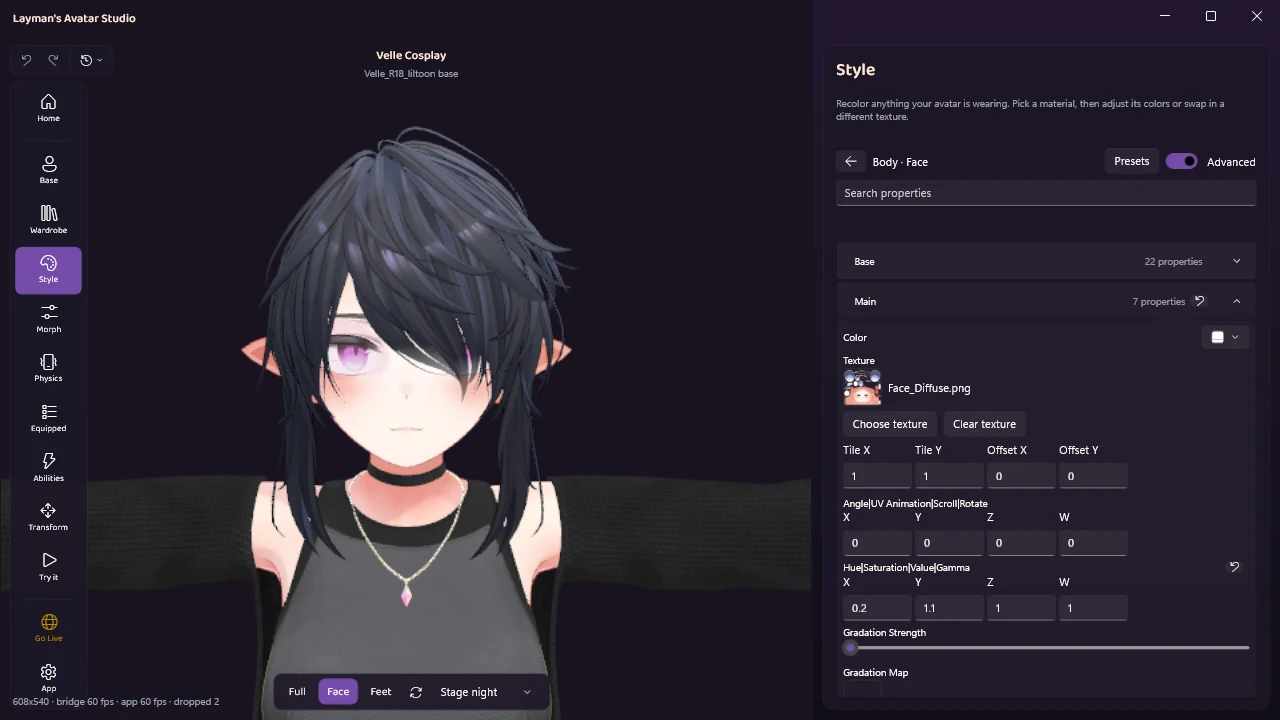
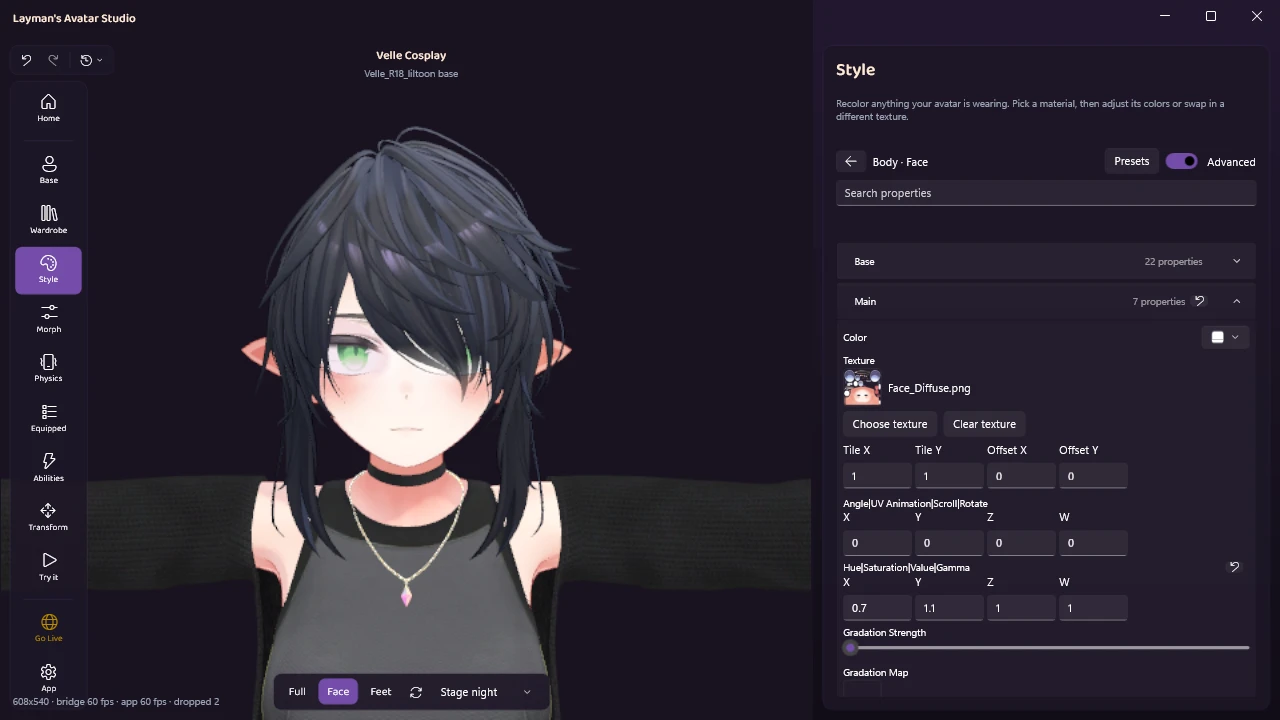
Pick the color once. A material opens in plain sections, starting with Main Color, which holds both the color and the texture. The color control is a wheel with brightness and opacity sliders and a hex box, and the viewport updates while you drag. An Advanced switch shows the shader’s own settings. On this avatar the eyes live on the face material, which is set up so its hue only reaches the eyes, so moving lilToon’s hue value from 0.2 to 0.7 turns them from violet to green:
Swap a texture. Choose texture opens a picker with the textures already in the project and your saved texture library, and Import file brings in a new image, such as an eye texture you bought. Here the hair’s texture was swapped for the lighter variant its creator included:
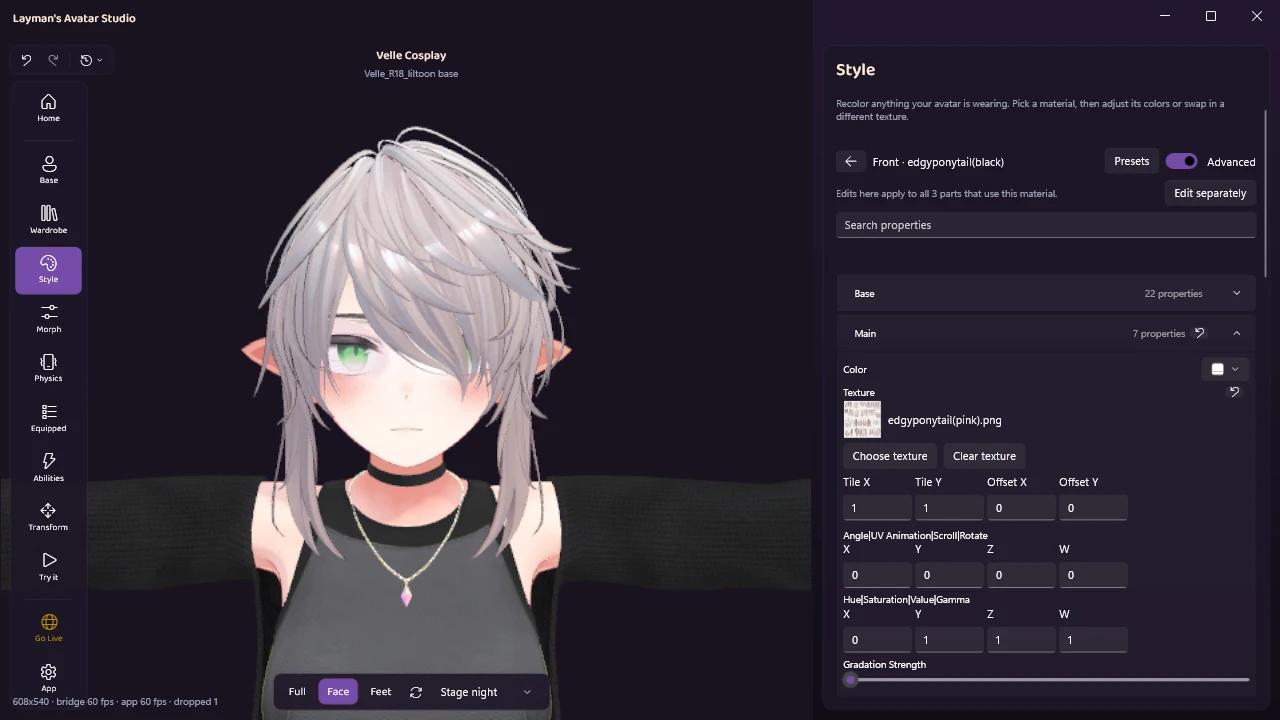
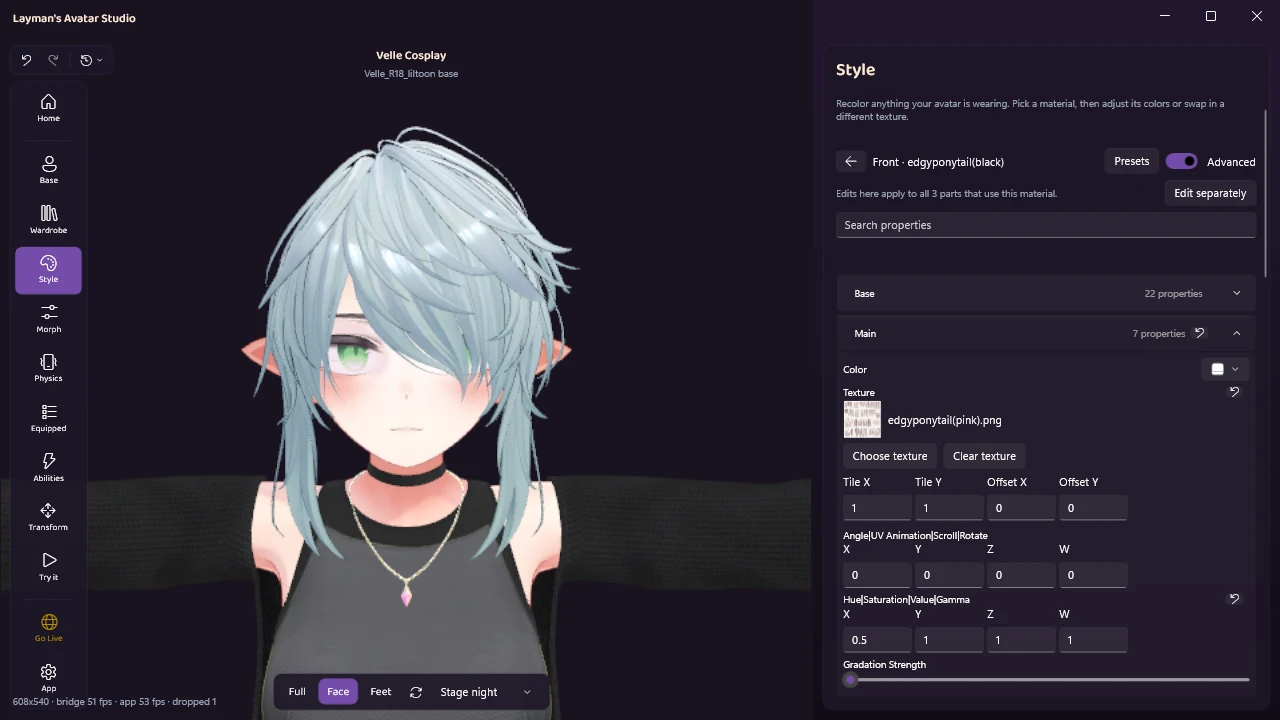
Shared materials, handled. Notice the note in that picture: edits apply to all three parts that use the material. Parts that share a material change together by default, and Edit separately gives one part its own edits (Use shared edits links it back). That is the direct answer to the shared-material trap, and to “one blue eye, one green”, as long as the two eyes are separate parts. With the green eyes kept, the hair was then hue-shifted on its own:
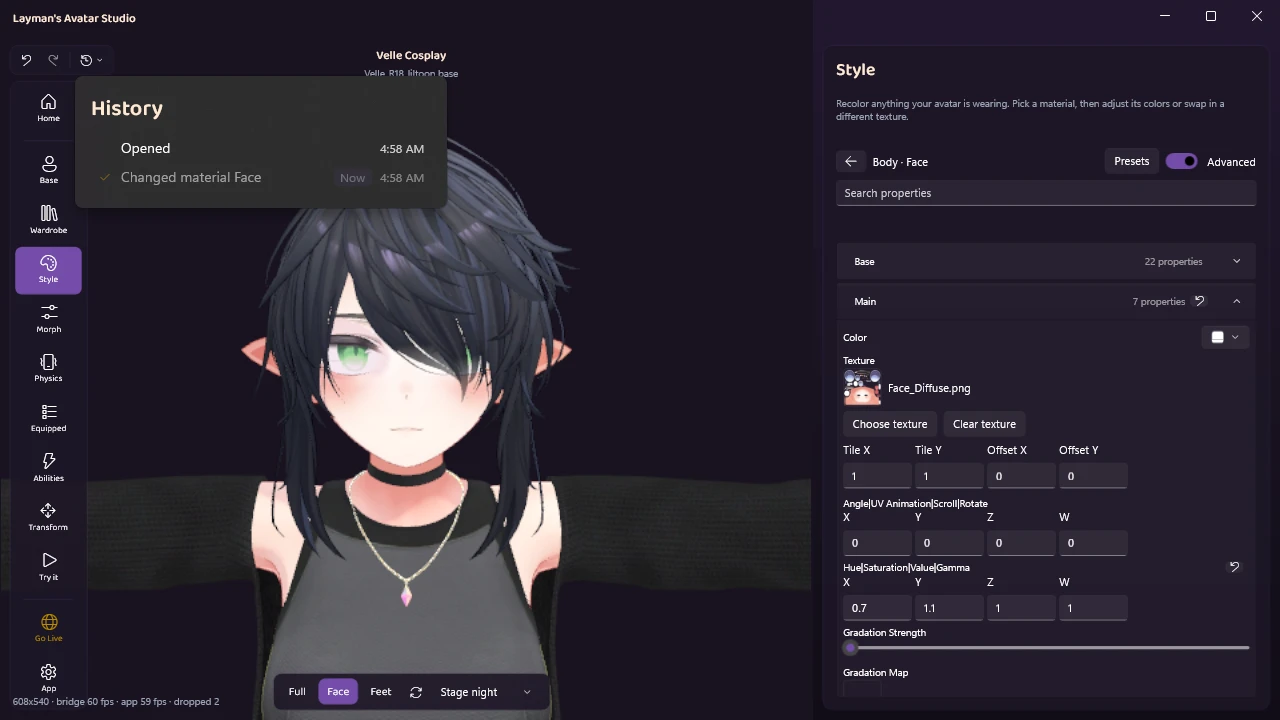
Every step can be undone. Each change lands in the history as a named step, like “Changed material Face”, and one click goes back. Every setting also has its own reset, each section can be put back how it shipped, and your own looks can be saved as presets that work on lilToon and Poiyomi. None of it touches the files you bought.
Adding an in-game hue wheel
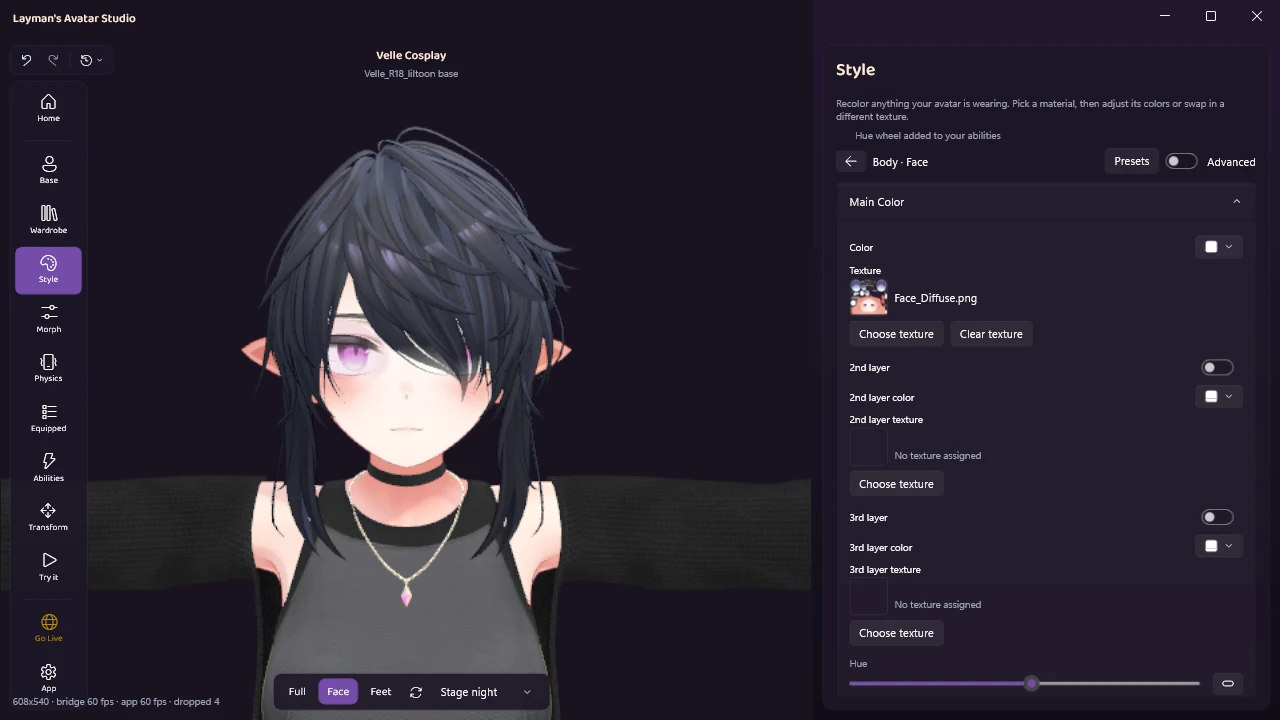
Now the slider itself. At the bottom of Main Color, the Hue row has a small button beside it: Add an in-game hue wheel. Press it and LAS adds a hue slider for that material to your avatar’s menu:
It appears in Abilities, which shows your whole VRChat menu as it will look in game, in a Colors menu, named after the mesh. It is an 8-bit slider, and the menu memory count goes up by exactly that:
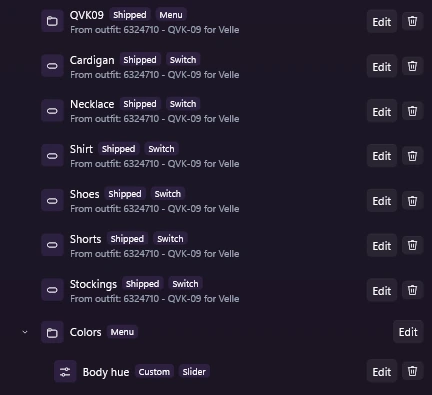
Under the hood, it is the short route from above: LAS builds the VRCFury material-property slider for you, pointed at lilToon’s or Poiyomi’s hue, and takes care of Poiyomi’s lock for it. It works on lilToon and Poiyomi materials, the two shaders with a hue setting LAS knows how to drive.
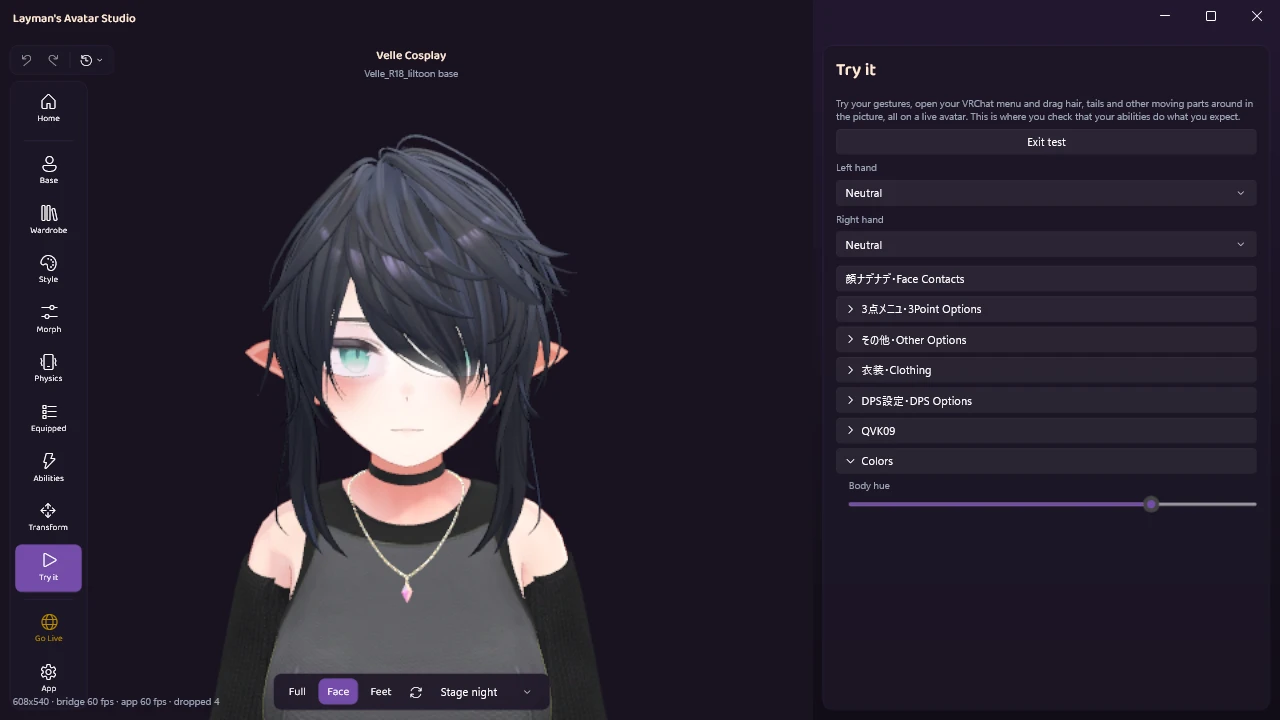
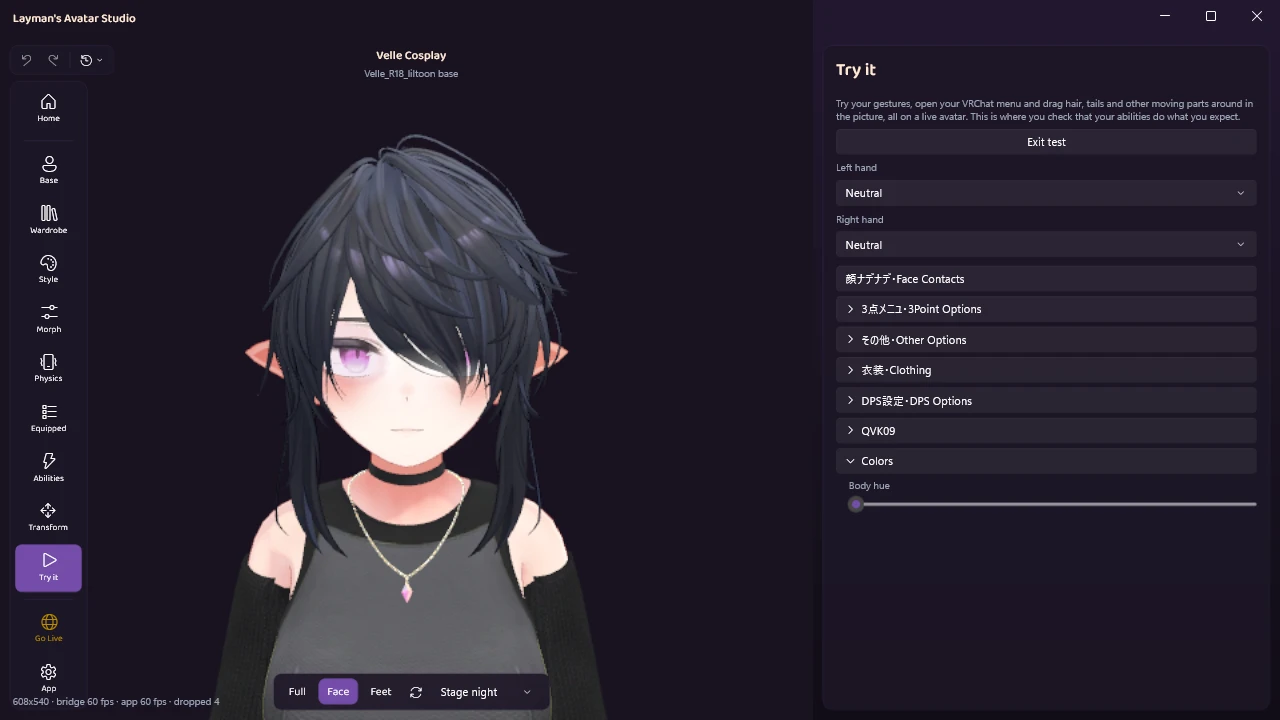
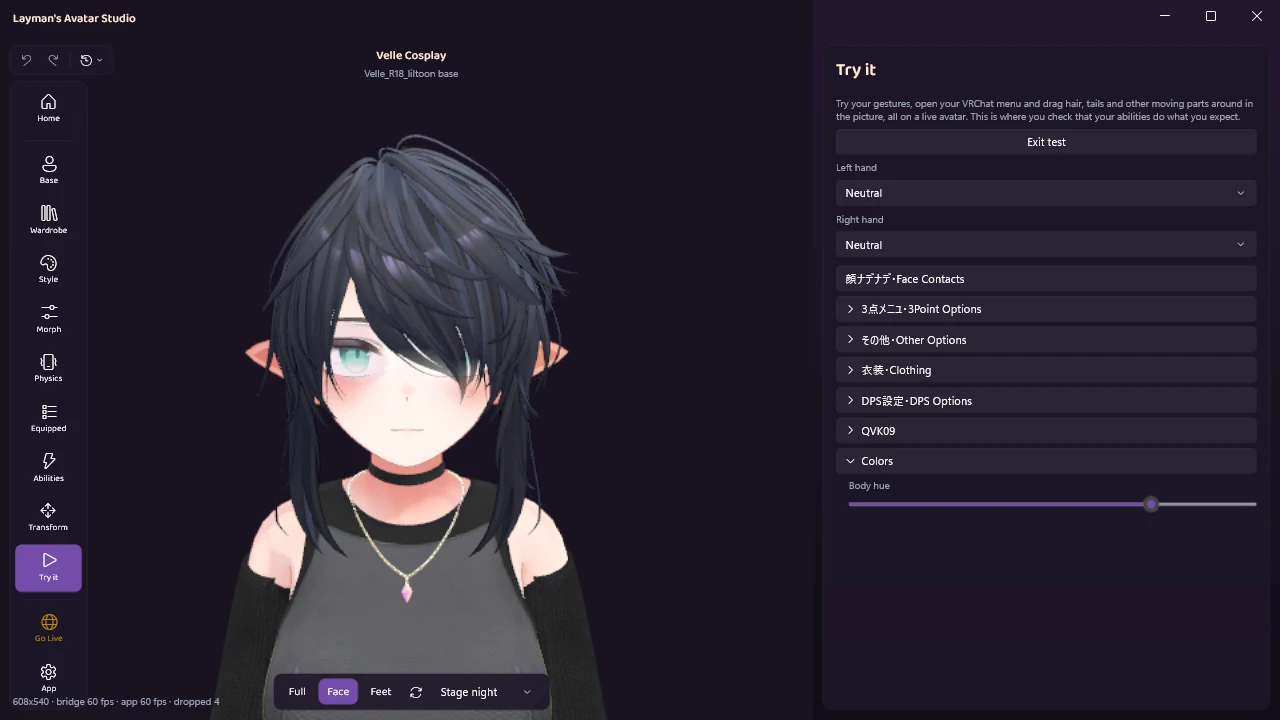
Then test it. Try it runs the avatar live with its real menu, so you can open Colors and drag the wheel before anyone else sees it. At 0 the eyes are their original violet, and three quarters of the way along they are teal:
A few honest notes:
- The wheel rotates the whole material’s hue. On this avatar the face material only lets the eyes change. On most avatars, a face or body hue wheel shifts everything on that material, skin included. Pick a material that holds only what you want to move, or use Edit separately first.
- It is not free. Each wheel costs 8 bits of menu memory, the same as a hand-built slider.
- It only offers what the shader has. Materials on other shaders, and Poiyomi materials that are already locked, do not show the hue row.
- A fixed color is still baked in. Whatever color you set in Style is what the wheel starts from, and what everyone sees until you move it.
When you are happy, Go Live uploads through the official VRChat SDK with the colors and the wheel included. The rest of the Style and Abilities panels are covered in the customize docs, the tour shows the other panels, and how LAS works gives the whole flow. Everything else the Studio does is on the page about editing a VRChat avatar.
Quick answers
Does any of this survive the upload? Yes. Color changes and texture swaps are baked into the uploaded avatar, and a hue wheel goes up as part of its menu.
Do I need the PSD file? Not for tints, hue changes or texture swaps. The layered PSD matters when you want to repaint the texture itself.
My eye texture was made for a different avatar. Can I use it? Sometimes, with image editing and some mesh work, and it rarely comes out clean. Check the product’s terms first, since not every creator allows it.
Can I have a fixed color and a slider? Yes. The slider moves from whatever color you set, so set the color you want as your default first.
Does a hue shift work on Quest? That depends entirely on the shader, and the usual PC avatar shaders are not the mobile ones. LAS builds PC avatars. More in the LAS questions and answers.
Try it on your own avatar
LAS is out in Early Access with a free plan. Download it for free, open one of your avatars, and change a color you have been meaning to change. The plans show what each one includes.
Questions about a color that will not behave go in the Discord.